
How to Create Anime Videos with AI Online (Beginner’s Guide)
Not long ago, making an anime video meant drawing thousands of frames by hand. Now you can type "a girl with silver hair standing in the rain, neon city behind her" and watch AI turn it into a moving anime scene in minutes. The results won't rival a studio production, but for Shorts, music videos, and social content, AI anime tools are genuinely impressive.
Here's how anime video AI works, which tools are worth trying, and a complete step-by-step workflow for your first text-to-anime video — plus tips for results that look good instead of glitchy.
How Anime Video AI Works
Most tools use one of two approaches:
- Text-to-video: You write a description (a prompt), and the AI generates a short clip from scratch. Easiest to start with.
- Image-to-video: You generate or upload a still image first, then the AI animates it — flowing hair, falling rain, camera movement. More control over the exact look.
Some tools also convert real video into anime style (video-to-video) — great for turning a simple recording into an anime-style intro.
One thing to know: free tools typically generate short clips of 3–10 seconds. Longer videos come from stitching several clips together in an editor. Plan around that and you'll avoid disappointment.
Tools Worth Trying
The AI video space changes fast, so focus on categories rather than chasing one "best" app:
- General AI video generators with anime styles. The mainstream platforms often include anime presets. They lead on smooth motion and reliability, with free tiers offering a few generations per day or starter credits.
- Anime-focused generators. These specialize in anime aesthetics — cel-shaded, watercolor, or retro 90s looks — sometimes with character-consistency features. Results feel more authentically "anime," but free tiers tend to be tighter.
- Image-to-video animators. If you have anime-style stills (AI-generated or your own art), these bring them to life. The two-step approach — image first, then animate — often beats pure text-to-video for quality.
- Mobile apps and browser tools. Many platforms work in a mobile browser; several have Android apps. For full projects, pair the AI tool with a mobile editor like CapCut.
Before committing time to any tool, check: how many free generations you get, whether downloads are watermark-free, and the max clip length.
Your First Anime Video: Step-by-Step
This workflow uses the image-first approach, which gives beginners the most control.
Step 1: Break Your Idea into Scenes
Each scene becomes one short clip. A 30-second Short might be: (1) a village at sunrise with falling cherry blossoms, (2) a silver-haired girl opens her eyes, (3) she runs down the street, (4) she looks up at a glowing sky. Keep each scene to one clear action — AI handles simple scenes far better than complex ones.
Step 2: Generate a Still Image per Scene
Use a free AI image generator for each scene's keyframe. Write detailed prompts: "anime style illustration, silver-haired girl in a blue kimono, cherry blossom village at sunrise, warm light, cel shaded, detailed background." Generate a few variations per scene and pick the best. Consistent wording across scenes keeps your character looking the same.
Step 3: Animate Each Image
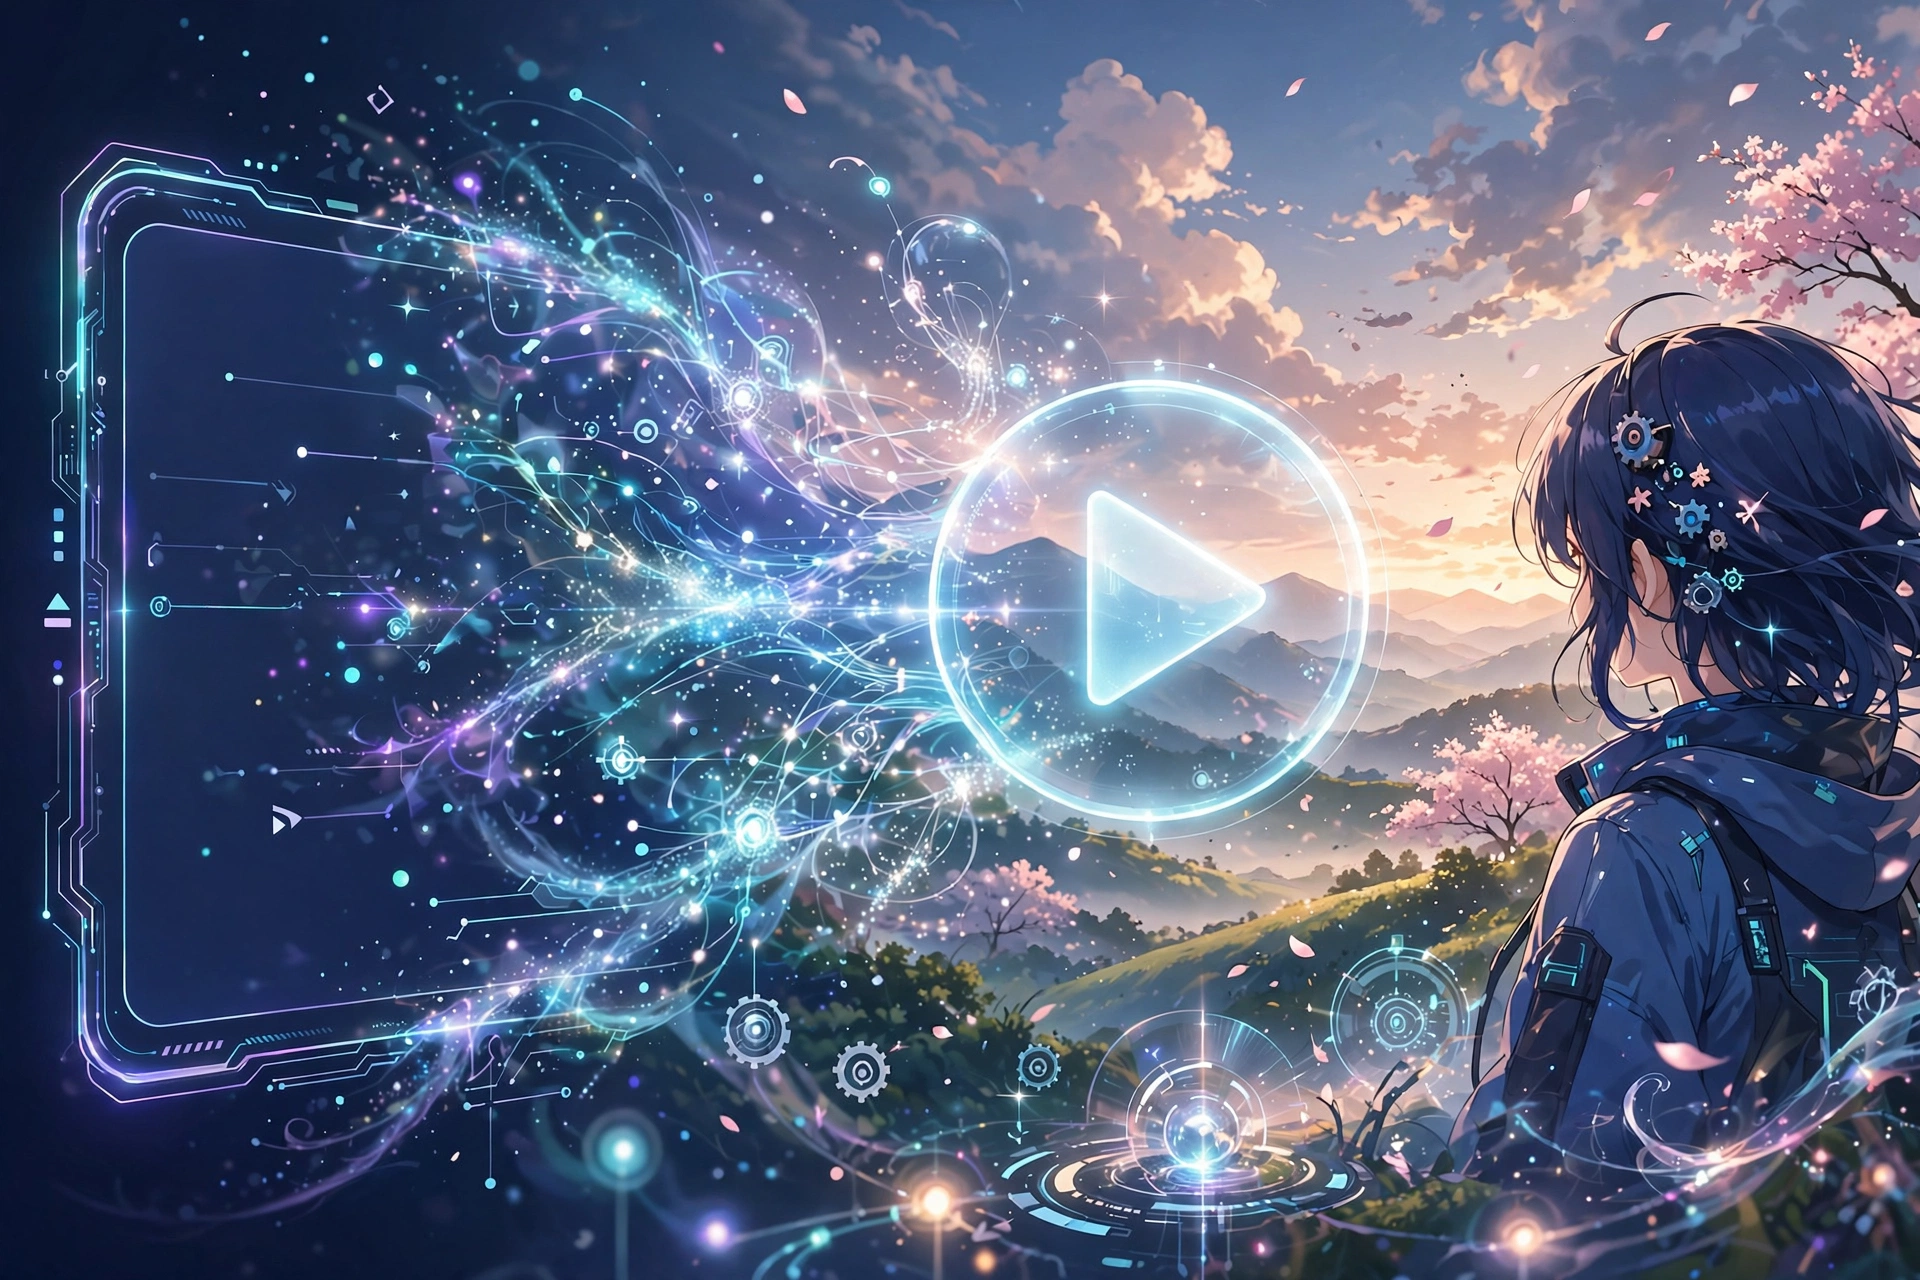
Upload each still to your image-to-video tool with a motion prompt: "cherry blossoms falling, gentle camera pan, girl's hair swaying." Keep motion subtle — gentle movement looks far more professional than dramatic action, which often distorts.
Step 4: Review and Regenerate
Check every clip: smooth motion? Consistent character? Regenerate anything with deformed hands, melting faces, or flickering backgrounds. Two or three tries per scene is completely normal.
Step 5: Assemble in an Editor
Import the clips into CapCut, arrange them in order, and trim the first and last fractions of a second — AI clips often glitch at the edges. A simple cross-dissolve between scenes hides minor inconsistencies.
Step 6: Add Music and Sound
Music turns AI clips from tech demo into video. Use royalty-free anime-style background music and keep it low enough to support the visuals. Subtle sound effects (wind, rain, footsteps) add a lot if your editor has a sound library.
Step 7: Export and Share
Export 1080p — vertical (1080×1920) for Shorts/TikTok, horizontal (1920×1080) for YouTube. Watch the final cut on your phone before posting; small glitches hide on big screens and pop on mobile.
Tips for Good-Looking Results
- Write specific prompts. Include subject, action, setting, style, and lighting: "young samurai walking through falling snow, torch-lit mountain temple, 90s anime style, cel shaded, dramatic moonlight."
- Keep characters consistent. Reuse the exact same character description in every prompt, and generate all stills in one session.
- Favor short clips. Six 5-second clips stitched together beat one shaky 30-second generation — less drift, natural cutting points.
- Avoid extreme close-ups. AI struggles with faces in motion. Wide and medium shots look dramatically better; use stills with subtle zoom for emotional moments.
- Use negative prompts. Tell the tool what to exclude: "blurry, distorted hands, extra fingers, deformed face, low quality."
- Batch your free generations. Write all prompts first, then generate in one focused session to make the most of daily limits.
Common Beginner Mistakes
- Overstuffed scenes. "A dragon fighting robots in a burning city during a storm" becomes visual soup. One subject, one action, one setting.
- Skipping the still-image step. Text-to-video is faster but less controllable. Image-first takes longer and looks better.
- Using copyrighted characters. Generating existing anime characters can cause copyright trouble on public posts — and many platforms block it. Original characters are safer and more fun.
- Expecting perfection. Embrace the stylized, dreamlike quality instead of fighting it.
Frequently Asked Questions
Can I make anime videos with AI for free?
Yes. Many platforms offer free tiers with daily generations or starter credits — enough for short clips and experimentation. Longer projects mean working within the limits (a few clips per day) or eventually upgrading. The workflow above is designed for free tiers.
How long does it take to make an AI anime video?
About 1–2 hours for a 30-second Short once you know the workflow: 20 minutes planning and prompting, 30–40 minutes generating and regenerating, 20–30 minutes editing and music. Your first attempt takes longer; it speeds up fast.
Do I need drawing skills?
No — that's the point. Storytelling sense matters far more: clear scenes, good pacing, detailed prompts, and the patience to regenerate weak clips.
Can I post AI anime videos on YouTube and TikTok?
Generally yes for original content. YouTube asks creators to disclose AI-generated content in many cases, so check the current policy before posting. Avoid copyrighted characters.
Why do my videos look blurry or glitchy?
Usually vague prompts, overcomplex scenes, or face close-ups. Simplify the scene, add quality terms ("detailed, sharp"), use negative prompts, and generate at your plan's highest resolution.
Related Articles
- AI Video Generator Free: Make Videos from Text
- Face Swap Video Online Free
- Best AI Photo Editor Online Free
Conclusion
Creating anime videos with AI sounds too good to be true until you try it. Start small — one scene, one clear prompt, one short clip. Learn what the AI does well (atmosphere, landscapes, simple character moments) and build around those strengths. With the image-first workflow and a little patience in editing, your fifth video might genuinely surprise people.