CapCut Video Editor Pro: The Complete Guide to Editing Like a Pro
CapCut has gone from a simple mobile editor to one of the most powerful video editing apps you can carry in your pocket. Millions of creators use it daily for TikToks, Reels, YouTube Shorts, and even full-length YouTube videos. But most people only scratch the surface — they trim a clip, add music, and hit export.
This guide goes deeper: what CapCut and its Pro features can do, how to edit like a professional with the timeline, effects, captions, and keyframes, and the best export settings for every platform — for beginners and improvers alike.
What Is CapCut Video Editor?
CapCut is a free video editing app developed by the same company behind TikTok. It's available on Android, iOS, and desktop, and it packs in features that used to require expensive desktop software: multi-track timelines, keyframe animation, chroma key (green screen), auto captions, speed ramping, and a huge library of effects, transitions, filters, and music.
The "Pro" side of CapCut refers to its premium subscription tier, which unlocks advanced AI features (like enhanced auto-captions, background removal, and premium effects), higher export quality options, extra cloud storage, and removes watermarks from certain templates. The free version is already generous — but Pro removes the ceilings for serious creators.
Key Features Worth Knowing
Multi-Track Timeline
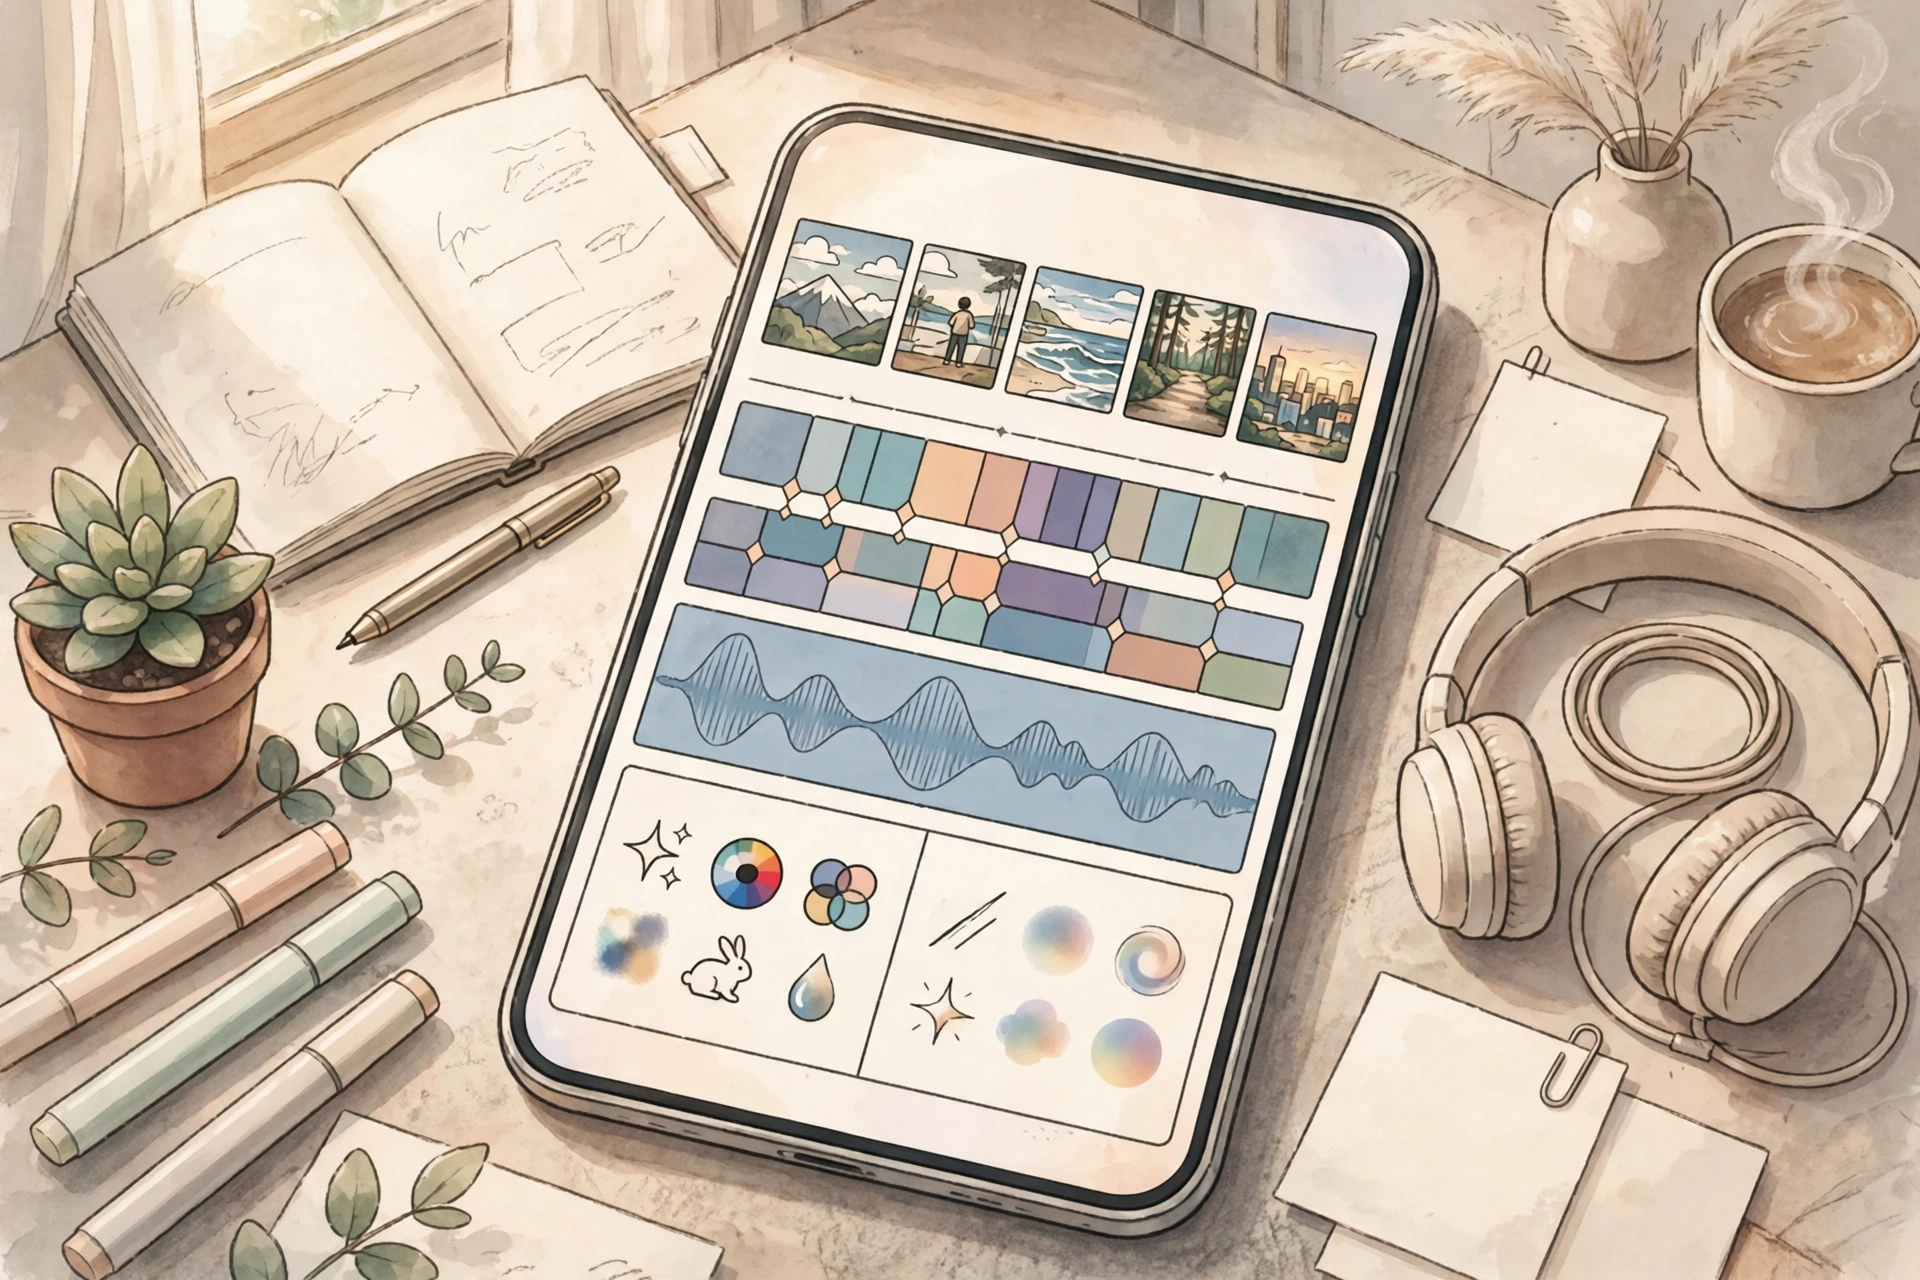
The heart of CapCut: stack video, audio, text, overlays, and effects on separate tracks, just like desktop editors. This is what lets you do picture-in-picture, layered effects, and complex edits on your phone.
Auto Captions
One tap generates accurate subtitles from your video's speech, with word-by-word highlighting styles that are hugely popular on TikTok and Reels. Pro users get more caption styles and better accuracy.
Keyframe Animation
Keyframes let you animate anything over time — zoom into a clip, move text across the screen, fade audio in and out. This single feature separates basic edits from professional-looking ones.
Effects, Filters, and Transitions
Hundreds of built-in options: glitch effects, light leaks, cinematic color grades, smooth transitions, and trendy TikTok-style effects. Many are free; Pro unlocks the premium collection.
Background Removal
Remove backgrounds from videos without a green screen, thanks to AI. Great for talking-head videos where you want a clean or branded backdrop.
Speed Controls and Speed Ramping
Slow motion, fast-forward, and smooth speed ramps (gradually speeding up or slowing down within a clip) for dramatic effect.
Audio Tools
Noise reduction, voice enhancement, beat markers that sync cuts to music, a large royalty-free music library, and text-to-speech voiceovers in multiple voices.
Getting Started: Your First Edit
If you're new to CapCut, here's the basic workflow:
- Create a new project and select your clips.
- Set the aspect ratio (9:16 for short-form, 16:9 for YouTube).
- Trim dead moments by dragging clip edges; drag clips to reorder.
- Add music, voiceover, or sound effects under Audio.
- Add titles and auto captions; tap between clips to add transitions.
- Preview, then export.
Edit Like a Pro: Advanced Techniques
Master the Timeline
Zoom in on the timeline (pinch to zoom) for precise cuts. Professional editors cut on the beat — enable beat markers on your music track (Audio > Music > Beats) and place your cuts exactly on those markers. It makes edits feel rhythmic and intentional.
Split clips (the "Split" tool) to remove mistakes mid-sentence, and use "Delete" gaps to tighten pacing. A good rule: if a moment doesn't add something, cut it.
Use Keyframes for Motion
Want that smooth zoom-in effect you see in viral videos? Select a clip, tap the diamond (keyframe) icon at the start, move to the end of the clip, add another keyframe, and pinch to zoom in. CapCut animates smoothly between the two points. You can keyframe position, scale, rotation, and opacity — on video, text, and stickers alike.
Layer Effects Like a Pro
Don't just slap on one filter. For a cinematic look, stack: a subtle color filter at 30–40% intensity, a light-leak overlay on low opacity, and a slight vignette. Small layered touches look far more professional than one heavy effect.
Captions That Pop
Auto-generate captions, then style them: bold font, high-contrast colors (white text with black stroke is the classic), and word-by-word highlight animation. Position them above the platform's UI buttons — good captions boost watch time since many people watch on mute.
Smooth Speed Ramps
Select a clip, go to Speed > Curve, and pick a preset like "Hero" for a dramatic slow-mo moment. Speed ramps add instant production value to sports and travel edits.
Clean Audio Matters More Than You Think
Viewers forgive imperfect video but click away from bad audio. Use noise reduction on voiceovers, keep background music at 10–20% volume under speech, and fade music in and out so cuts aren't jarring.

CapCut Pro: Is It Worth It?
The free version handles most editing tasks well. Consider Pro if you export a lot and want top quality without watermarks on premium templates, use AI features heavily (background removal, advanced captions), need more cloud storage, or want the full premium effects and music library. For casual creators posting a few videos a week, the free tier is honestly enough — Pro pays off for daily creators and client work.
Best Export Settings for Every Platform
Tap the export button (top right) and adjust these:
TikTok, Instagram Reels, YouTube Shorts (9:16 vertical)
- Resolution: 1080p. 4K is overkill for short-form and just slows uploads.
- Frame rate: 30 fps standard; 60 fps only if your footage is 60 fps.
- Bit rate: High or recommended — this controls quality more than resolution does.
- Format: MP4.
YouTube (16:9 horizontal)
- Resolution: 1080p minimum; 4K if your source footage is 4K.
- Frame rate: Match your footage (usually 24, 30, or 60 fps).
- Bit rate: High — YouTube compresses uploads, so start with the best quality you can.
WhatsApp Status / General Sharing
- Resolution: 720p keeps file sizes small for easy sharing.
- Bit rate: Medium — good balance of quality and size.
Golden rule: Always export at the same frame rate as your source footage. Mixing frame rates causes stutter.
Common Mistakes to Avoid
A few habits separate amateur edits from polished ones: don't overuse transitions (one or two clean ones per video is plenty); never let music drown out speech; export in high quality rather than saving time with low settings; keep text clear of the screen edges where TikTok and Instagram place their UI buttons; and back up important projects to cloud storage even though CapCut autosaves.
Frequently Asked Questions
Is CapCut video editor really free?
Yes, the core editor is completely free with no watermark on your own edits. CapCut Pro is an optional subscription unlocking premium effects, advanced AI tools, more cloud storage, and higher export options.
Can I use CapCut on PC as well as Android?
Yes — CapCut has a desktop app for Windows and Mac plus a web version. Sign in and projects sync across devices, so you can start on your phone and finish on your computer.
Why does my exported video look blurry?
The most common cause is exporting at too low a resolution or bit rate — use 1080p with high bit rate. Also check your source footage: if the original clips are low quality, no export setting can fix that.
Does CapCut add a watermark?
Videos you edit yourself have no watermark, even on the free plan. Watermarks only appear on certain premium templates and ending cards.
What's the best aspect ratio for TikTok in CapCut?
Use 9:16 (1080×1920), set when you create the project. Editing in the wrong ratio and cropping later always looks worse than starting correctly.
Related Articles
- AI Video Generator Free: Create Stunning Videos Without Paying
- TikTok Video to Ringtone Android: Turn Sounds Into Ringtones
- Video Language Converter Online Free: Translate Any Video
Conclusion
CapCut proves you don't need a computer or expensive software to edit videos like a professional. Learn the timeline, get comfortable with keyframes, treat your audio with respect, and export with the right settings — that's what separates amateur edits from ones that stop thumbs. Start free, and consider Pro only when the free tier holds you back.